|
CS6320: SW Engineering of Web Based Systems |
||||||
|
How to use Eclipse to create Web Application to Deploy to GlassFish
This assumes you have installed latest Eclipse Java EE and GlassFish pluggin
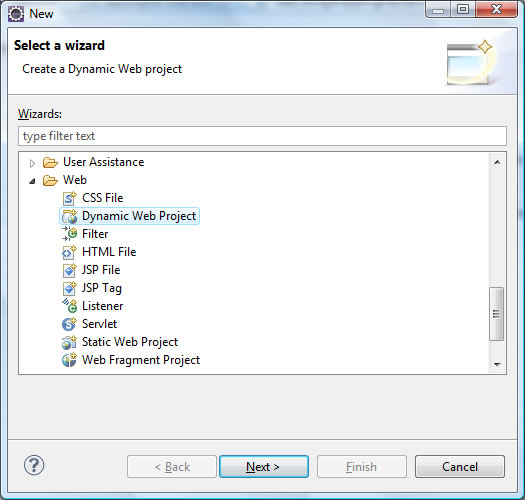
1) File->New->Dyanmic Web Project OR File->New->Other->Web->Dyanmic Web Project
-
Enter a project name.
-
Click "Browse" under location and local location.
-
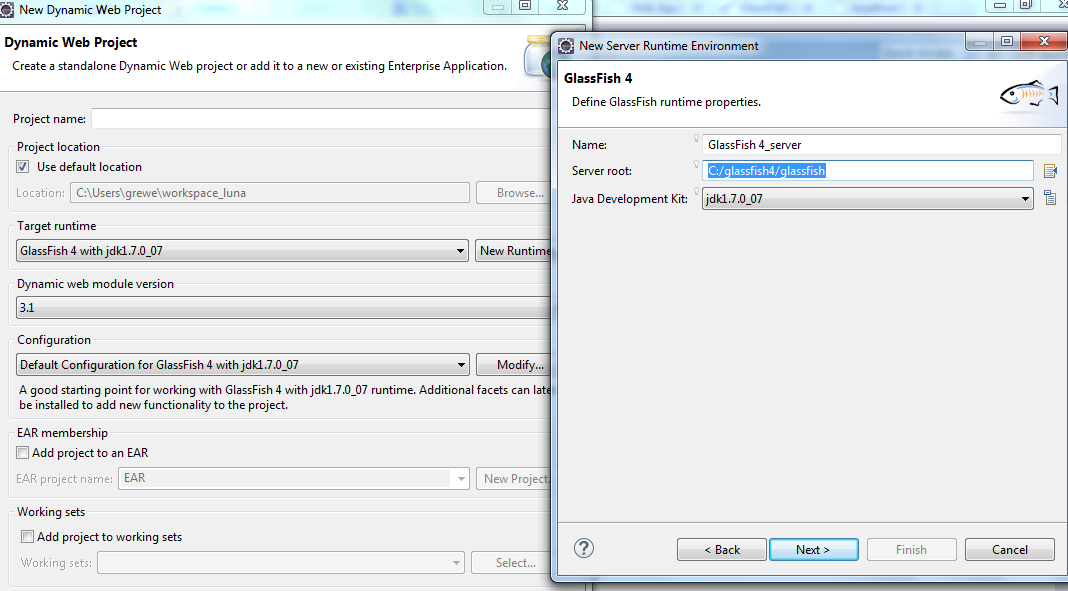
Select your version of GlassFish from the Target runtime. Change the configuration from default if you wish.
2 - A) If you have not setup the GlassFish RunTime Environment, do it now
THIS ASSUMES you have already installed the GlassFish Pluggin for Eclipse
Select the appropriate version of Oracle GlassFish (See instructor for current version OR BETTTER YET log on to GlassFish you have access to and
find out the version by hitting about button -- if you are setting up for a local GlassFish you need to know this yourself or figure it out
--below it is using GlassFish 4 with a JDK of 1.7.0_07)
2.11) In gui on left you will enter in ProjectName and its location
22.2 ) You will select a Target Run Time --- you can create one here if you don't have one...but, It should be your WebApp server type (i.e. here GlassFish 4)
with the JDK you want (i.e. here 1.7.0_07 rather than newer 1.8) NOTE: if you are deploying to the campus server you will need to find out the version of GlassFish there and the JDK
that is used. You should try to mimic that environment for your local host (at the time of this image being created the campus server was running a version of GlassFish 4 with JDK 1.7)
3) Select the GlassFish Target Runtime Previous Setup (see Server Setup at bottom of this page and number 2A above)
<<<<<NOW HIT FINISH
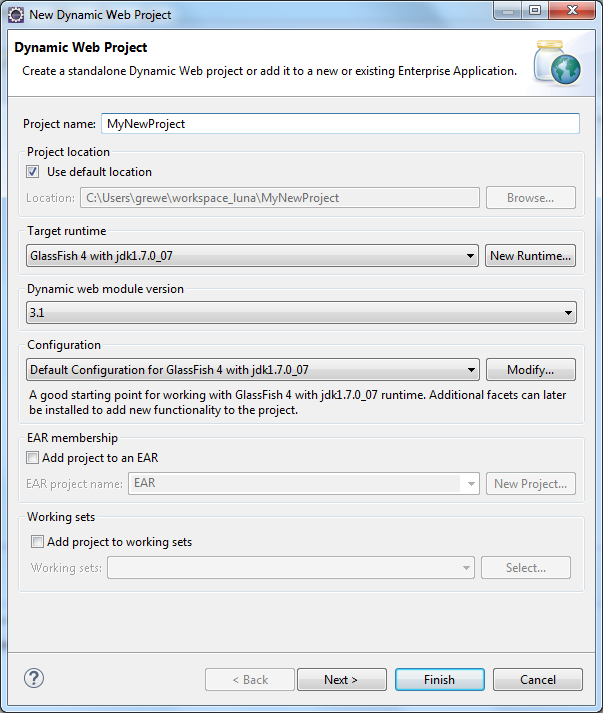
4) Now you are ready to create your code
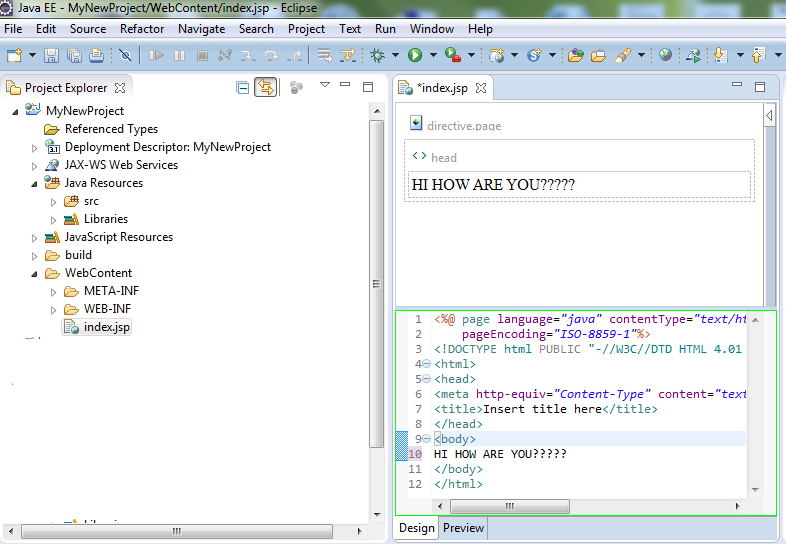
see below the project directory structure created and the autogenerated index.jsp files ---
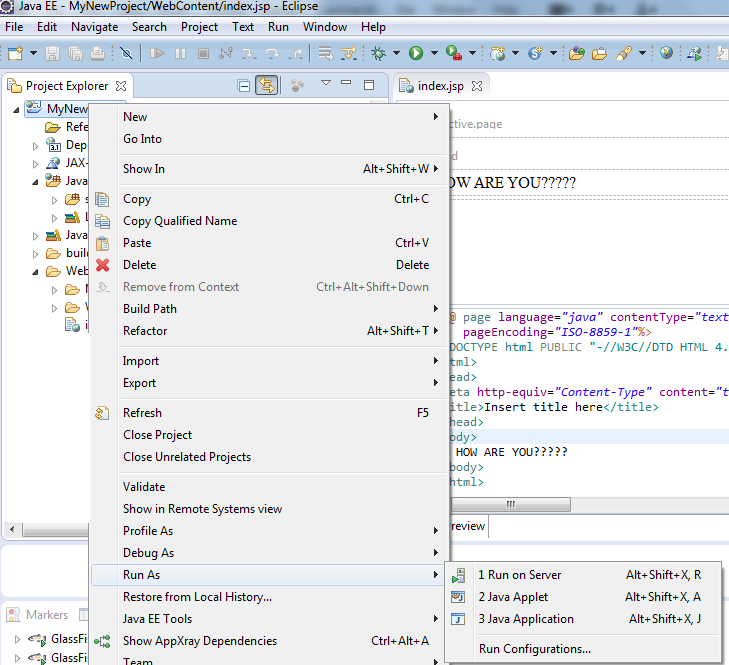
4) Run: right click on project folder ->RunAs->Run on Server
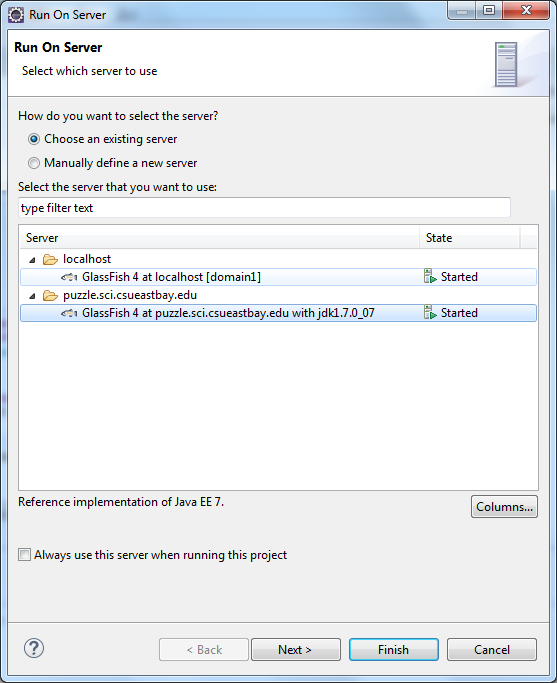
You may be asked what server ---choose the one you want (HERE we have a choice of a local GlassFish and a remote GlassFish on the puzzle.sci server)
 ++
++
What happens --- see the Server Console Window where it says the Server is started and running (see Servers Window)

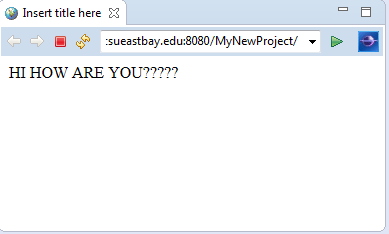
You will also notice that a window is popped up in Eclipse that shows the results of the main URL of the WebApp -- as we have an index.jsp this is what we see. Otherwise you would see nothing and need to specify furhter the pather to some servlet or other jsp after the main URL
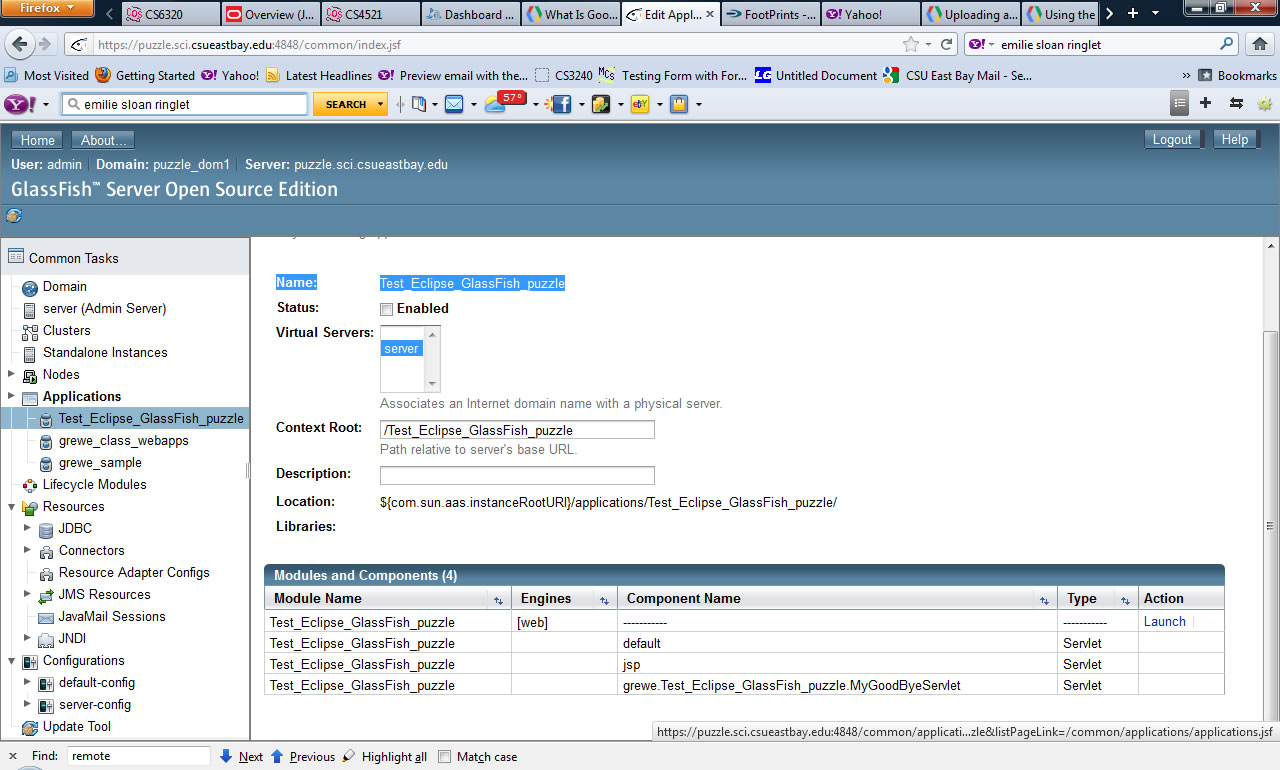
Go to your Browser log-in to your remote (or local) GlassFish server and see that you now have a new webapp there

NOW you can launch it (if local http://localhost:8080/whatever or in my remote case http://puzzle.sci.csueastbay.edu:8080/whatever)
OUR EXAMPLE http://puzzle.sci.csueastbay.edu:8080/Test_Eclipse_GlassFish_puzzle/

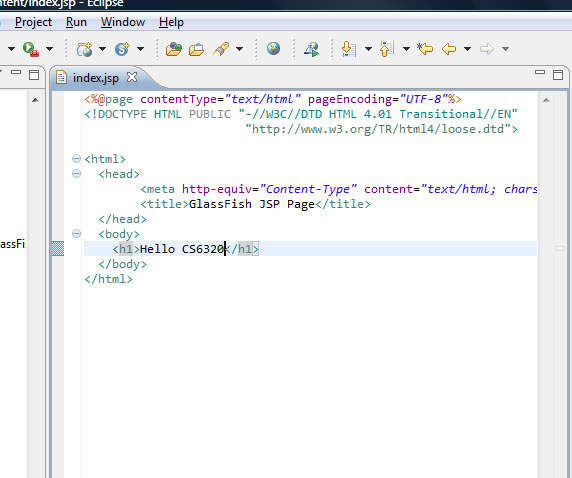
5) Lets Change the code and run again ---

6) Creating a New Servlet in the WebApp
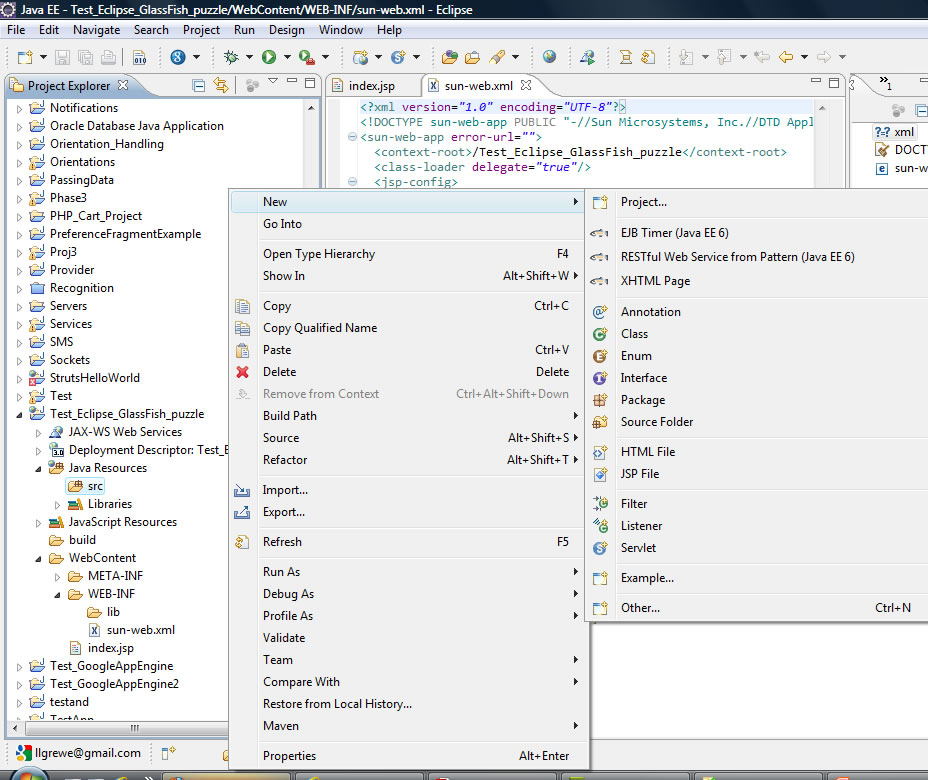
- rightclick on ProjectName->JavaResources->src and select New->Servlet
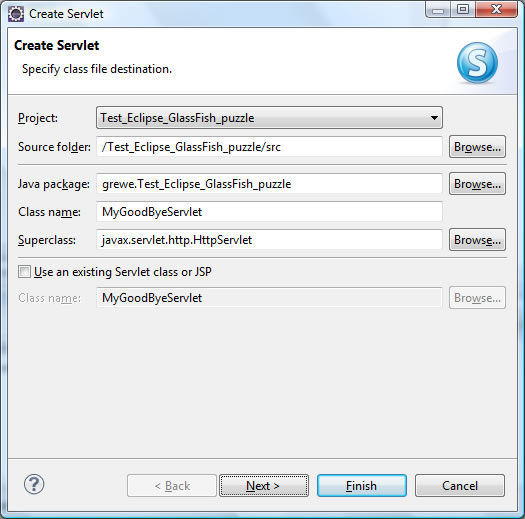
This will pop-up the following window, where you need to type in the package name, name of class, what kind of servlet you are extending
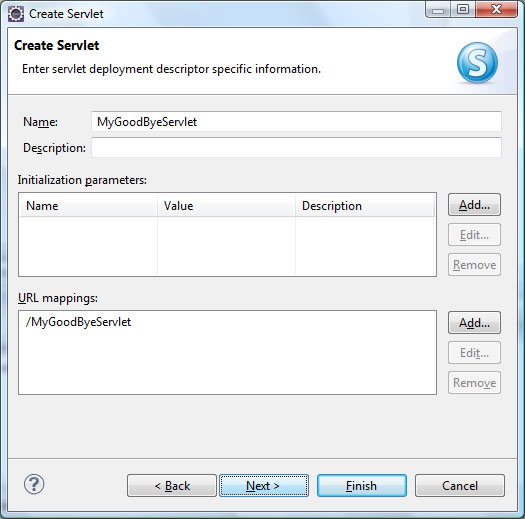
Hit Next if you wish to type in any intialization parameters OR change the URL mappings (these were things in old Servlet standard you put in web.xml---you still can)
Next select any methods you want to overwrite, and other class options
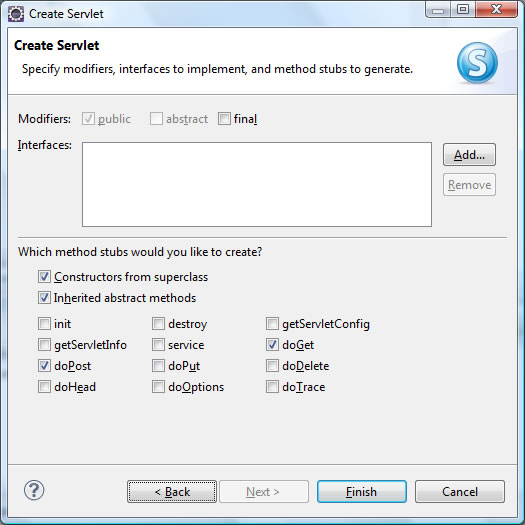
The following code will now be generated under you src folder
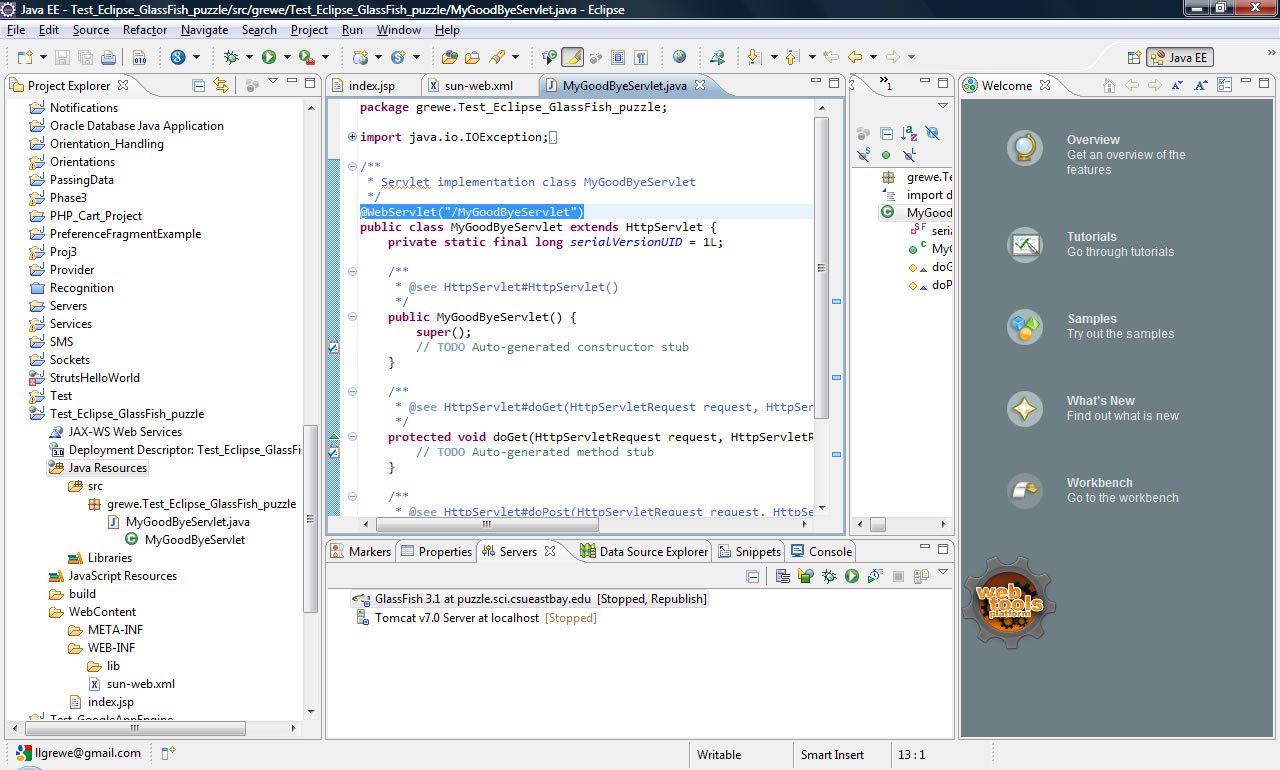
Lets now run (and deploy to my remote puzzle.sci GlassFish server) Rightclick project folder->run as->Run on Server
NOTE: the end we add the /MyGoodByServlet which is the URL mapping provided by the @WebService annotation in the servlets .java code
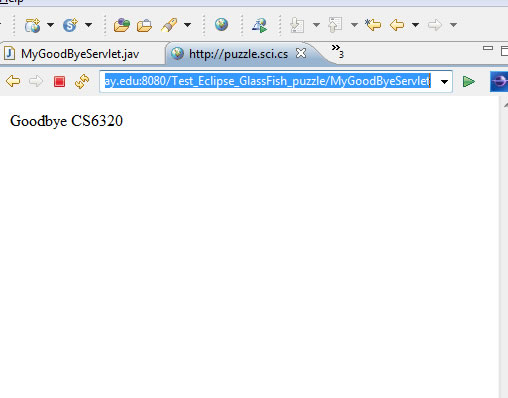
See its been deployed the new servlet to our puzzle GlassFish server
