|
CS6320: SW Engineering of Web Based Systems |
||||||
|
RubyMine IDE tips
How to create a Model (example: Model User)
STEP 1 CREATE User MODEL:
Photos in the photo-sharing site are organized by user. Start off by creating the model class User and its associated database table, with the following attributes:
| id | Primary key for this user. | automatically created |
| first_name | First name of the user. | string. |
| last_name | Last name of the user. | string |
RubyMine:  Tools-> Run Rails Generator -> model

>>> give it the name Use
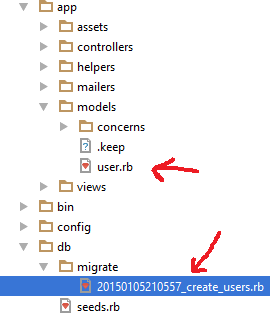
This will create a migration file with a name something like 20120330202846_create_users.rb in the directory db/migrate. It will also create an initial model file app/models/user.rb.
user.rb = Model class file
Edit the migration file so it will CREATE THE CORRESPONDING DATABASE TABLE and fill in the body of the change method as described in class materials
How to create a Contoller
EXAMPLE Create Controller class named "SayController" (command line> rails generate controller say -s)
- RubyMine: Tools->Run Rails Generator
- RubyMine: "select controller"
- RubyMine: give it the name Say
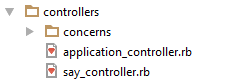
This generates a new file say_controller.rb file in Controller directory
generates a View directory called say

also generates some other files like test, etc.
How to Create A View
EXAMPLENow create an HTML view file in app/views and make it an ERB file and call it hello.html.erb
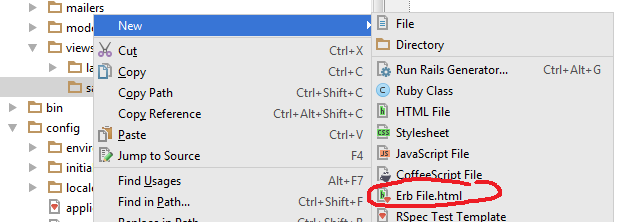
- CALL the file hello.html (NOTE in RUBY mine it will add the erb automatically so the name becomes hello.html.erb)
- create some static HTML code -- but, make sure in the body to add someHTML to say hello ...this is an erb file with no Ruby in it...all static HTML
- Now add a Ruby line to print out the current time inside the hello.html.erb file:
<%= Time.now() %>
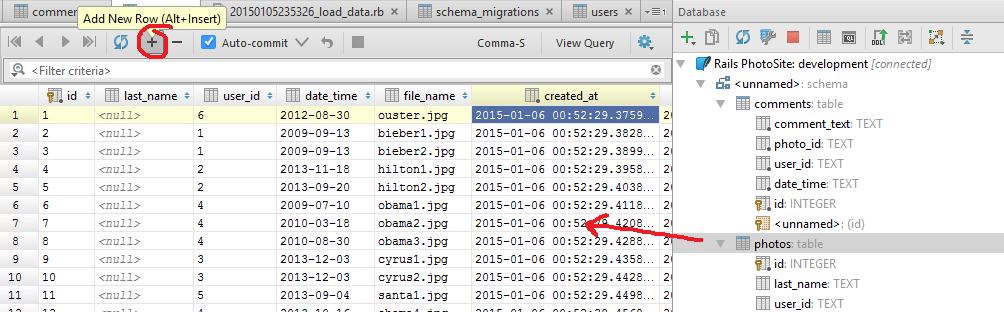
Viewing Database Tables
To start: View->Tool Windows->Database
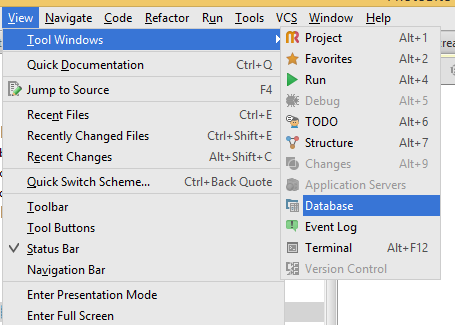
You will get (you must have drivers for the database you are using to connect to it ---RubyMine will usually prompt you or have a link to install them if you don't have them on there)
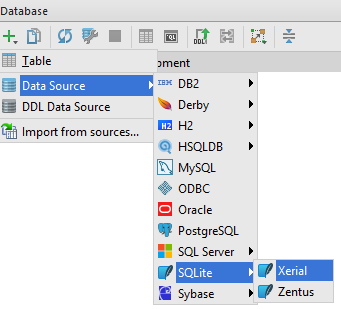
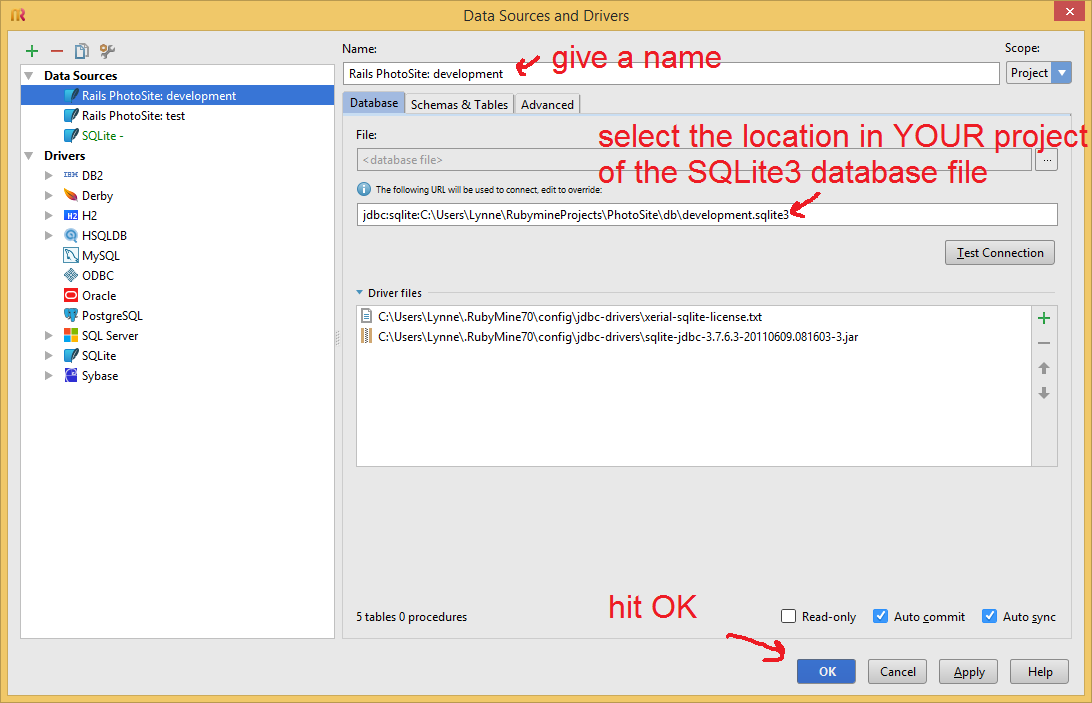
To manually add the default SQLite3 database table so you can view
NOW open it up and see your database tables
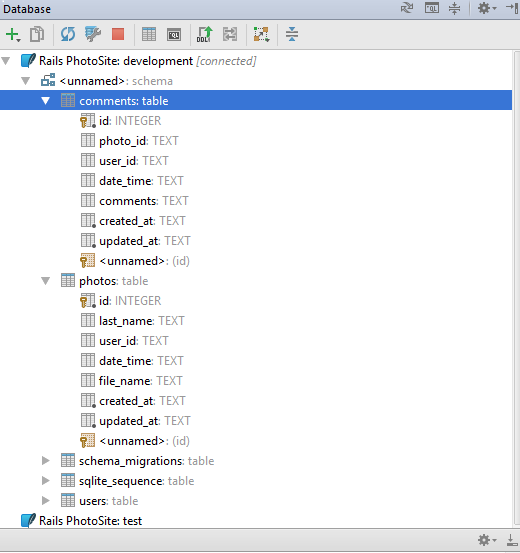
You can select a Table and then enter in values by hand if you wish