CS3340: Intro OOP and Design |
||||||
|
Setting up your Web Account
Making web pages (html documents) available to others on the World Wide Web consists of creating the document, placing it in the proper location, then adjusting the permissions on the document (and directories containing it) so the webserver can access them.
Our our server you must setup your account Once and only Once as outlined in this document. It involves created a public web area and then transfering up any web pages you create and associated content like images and video, etc. (unlike word documents they are separate) to this special web area in your account.
THIS ASSSUMES you have gotten your account information sent to you that has the hostname (like puzzle.sci.csueastbay.edu) and username and password for your account
on the Web Server.... THIS IS NOT THE SAME host as your Oracle Database ---- but, both may be discussed in the same email sent to you with your accountS information.
Creating Your Public Web Area (do only once for your account)
You must create a directory in your home directory called public_html and give your home directory and this new directory the proper permissions. It is within this directory that the webserver will look for resources whose resource address begins with /~yourlogin.
Using SSH applicaiton'sShell Session to Connect and create public_html directory
1) YOU MUST FIRST CONNECT TO YOUR SERVER (i.e. puzzle.sci.csueastbay.edu) USING A TOOL LIKE SSH (see course outline for tips on how to connect to a remote machine using ssh). VIDEO ON CONNECTING WITH SSH
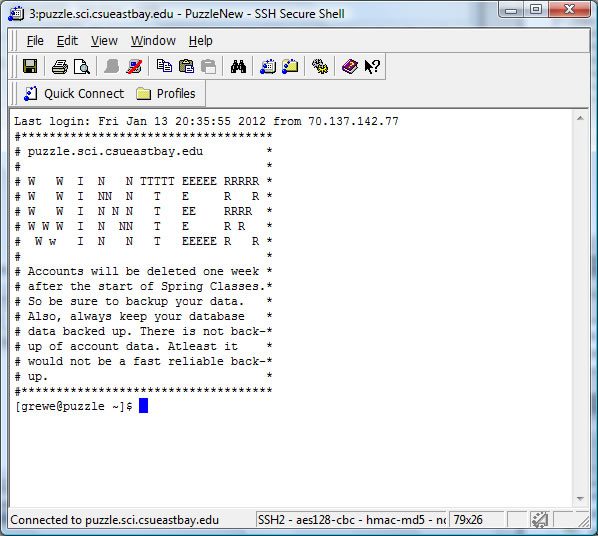
Once you connect you will see the following (or similar) interface ....your prompt will be different.
This is called a Secure Shell
There are a number of places on the web you can download for educational use the SSH Secure Shell tool
>> you can search on web for it...but, here are a few links I found (that hopefully are still active...if not you can search)>>> otherwise you can use whatever tool like Putty or WinSCP you like ---you do not have to use the SSH Secure Shell too I show here...but, the tool must support SSH protocol to connect to your web server acccount on campus.
http://www.wm.edu/offices/it/services/software/licensedsoftware/webeditingsftp/sshsecureshell/index.php
http://www.ohlone.edu/org/webcenter/sftptutorial/windowssftp-downloadinstall.html
http://ccm.net/download/download-1423-ssh-secure-shell
On Macs (you might use CyberDuck or other free ssh tools)
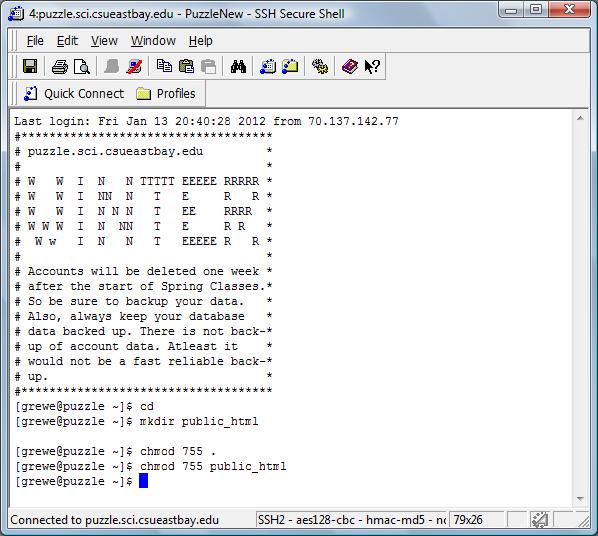
2) Type in exactly as shown the following commands after you have logged into your account
cd
mkdir public_html
chmod 755 .
chmod 755 public_html
Putting a WebPage on your Web Server
Once you have created a webpage(s) you need to transfer it up to your public_html directory.
Option 1 = with SSH application Option 2= your own tool
We have a video showing this using ssh ---otherwise you need to know how to transfer files using your own tool (or read up on how to do this).
SUMMARY OF HOW TO USE SSH tool to Connect, Transfer FIles, Change File Permissions
( note: these are pre-requisite skills to this class typically taught in freshman year)
(note: these videos are of me connecting to my own account on an ebox server, your account
information including host will be different)
- connecting using SSH
- transfering files using SHH
- changing file permissions using SSH
Accessing our Homepage
To access our document, a World Wide Web user has only to fetch the following URL with their browser:
http://puzzle.csueastbay.edu/~yourlogin
The public_html directory need never appear in a URL. The webserver knows to look in your public_html directory whenever ~yourlogin appears in a URL.
Summary
To post a webpage on ebox, you must
- ONLY ONCE Create a directory called public_html within your home directory.
- Give that directory as well as your home directory permissions 755.
- Place your webpages (XHTML documents) into your public_html directory.
- Give your files as well as any image/media files associated with it permissions 755.